Showing posts with label nail art. Show all posts

Sunday

Daisy Nailsy


With the coming of summer (as much of a summer as one can get in Ireland) I've decided to do some floral nails, and not just any floral, daisies! These nails took me 10 minutes to do and lasted the whole weekend!


All you need is: blue, white and yellow nail polish:

(these are the cheapest I could get)

One cotton bud:


( the best way to get even dots on the nails, instead of using a nail art pen, is to take the wool off the end of a cotton bud, this way you get perfect circles )

So I painted my nails blue first:

Then using the plastic end of the cotton bud, dip it in the yellow polish first and dot on SPARINGLY (too many dots means too many flowers, and it looks shite)


Finally, add 4/5 white dots around the yellow, make sure you let the yellow dry first!


Gorge Daisy nails!!


:) enjoy the summer! x


Wednesday

Cupcake Cupache


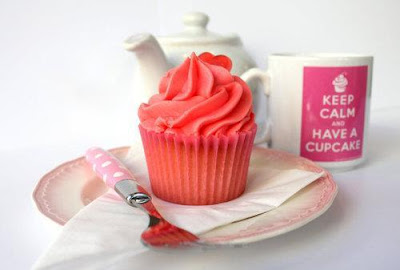
My life has been surrounded by cupcakes recently, I just got a new job as the manager of a cupcake shop in Dublin, Lolly and Cooks,  and everywhere I look I see cupcakes! Hence why it's time for some CUPCAKE NAILS!!

I could of gone very fancy on these bad boys but as I said, I am the manager so time is tight for me recently!

Ok so fist of all you need 3 pastel shades of polish and one red/plum colour:


Most of these polished are from the Pound Shop, you don't have to go fancy for these!

Pick the colour you want as the base of your cake and paint HALF-WAY down the nail:


(very vile looking)

Now pick the colour you'd like for your icing and literally blob it on, be as messy as you like, if it's in a straight line it WILL look shite:


Do two layers of the icing for a more realistic effect.

Now time for some detail, the sprinkles! I found the best way to add little lines was to use the plastic from a price tag:


Using the thin end dip, it in the colour you want for your sprinkles and brush in different directions over your icing:

(sorry for the shit pic)

Ok finally you can add your cherry on top with one bigger blob! 


unrealllll! and for some other spins on cupcake nails here is some inspiration:


:) x


Tuesday

Holy Moly


Incase you've been living under a pile of blankets with a blindfold on all summer you may have noticed that crosses have taken over every aspect of everything. So i decided to do some cross themed nails. 

Everything I used was all super cheap stuff and this was the outcome.. 

  1. Make sure before doing the polish you buff your nails, if they are too shiny the nail polish will crack off easily, buffing them means that the polish has something to hold onto.
  2. Always use a base coat, this stops your nails getting stained from wearing too much polish.
  3. Always do 2 coats of your base colour, this base colour is from Penneys and is quite washed out looking on just one coat. better safe then sorry!
  4. Wait until your nails are totally dry before adding the glitter, to check if they are totally dry dab them with the tip of a pin, if you can see the marks of the pin then your nails are still wet!
  5. doing the cross is easy now, just use a house hold permanent marker, or better yet if you have it liquid eyeliner, try make the lines as straight as possible , when it's done spray your cross with hairspray, this holds the pattern down!
  6. one top coat is all thats needed to stick your jewels on, I find using a tweezers the best to add jewels on, but don't try grab them with the tweezers, they will pop away, simply lick the end of the tweezers and use it to dab onto the jewels, they stick to your spit and BAM, you can stick them straight onto your nails.
  7. when its all dry do one final topcoat and there you are. Fab nails!


Pink nail polish 'Angelica', colour 'Heartbreaker' from Pennys. €2.
Purply 'Hello Kitty' glitter polish from H&M €1
Black permanent marker to do the cross
Nail jewels from the Pound Shop on Liffey Street, Dublin. €1

Total cost €4 and I feel fab.


: ]